Guides
Part of Fountain pen mistakes, and the fixes that actually work
How to photograph a pen fault so someone can help
What a useful nib photograph looks like, the three shots that answer most questions, and the capture notes that turn a picture into evidence.
Asking for help with a pen almost always fails on the photograph. A picture of a whole pen on a desk shows nothing. What a specialist needs is the nib from two angles at close range, a writing sample on named paper, and a sentence about what you already tried. This page covers how to take those.
What to take away
- Three shots answer most questions: nib from above, nib from the side, and a writing sample.
- Raking light from the side is what makes a misalignment visible.
- Name the paper, ink and nib width in the post. Without those the picture is guesswork.
- Record the capture settings so a second photograph is comparable to the first.
The three shots
| Shot | How | What it shows |
|---|---|---|
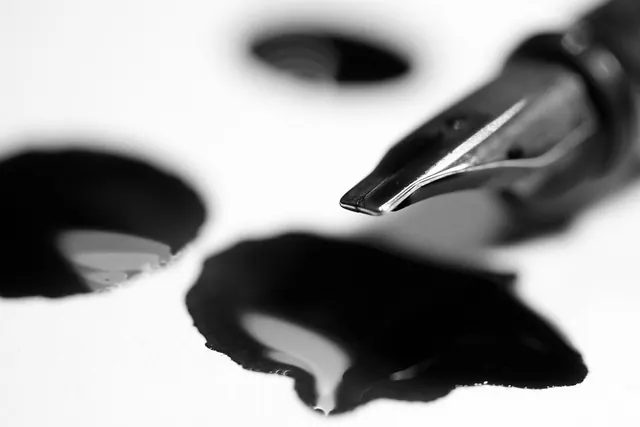
| Nib from directly above | Macro, light from the side | Tine alignment and gap |
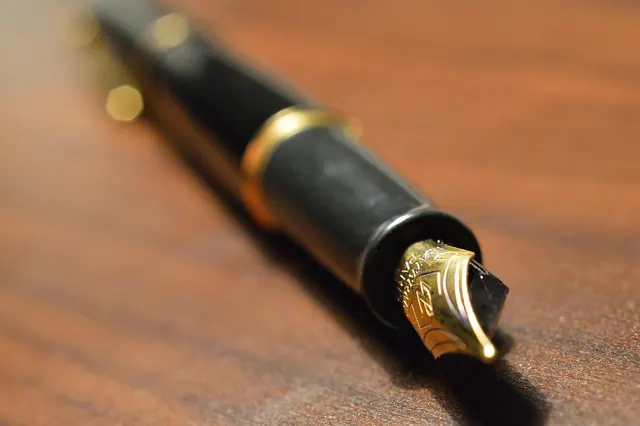
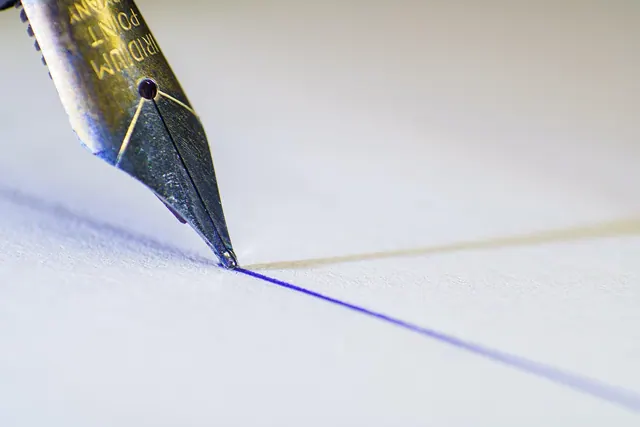
| Nib from the side, at the tip | Macro, dark background | Tipping shape and any wear |
| Writing sample, flat | Straight down, even light | Skipping, feathering, line width |
Add a fourth if the fault is intermittent: a short piece of writing that includes the moment it failed, with an arrow drawn beside it.
Decide what the picture is for
Photography of objects is easier when you know the objective, which is how institutions approach it. FADGI's guidance on content categories and digitization objectives exists to match what is being captured to what the capture is meant to achieve, rather than treating all imaging as one task.
Your objective is diagnosis, not beauty. That changes the choices. Keep the background plain and dark. Do not soften the light, since it is the hard shadow across the tines that reveals the problem. Do not correct the color, since a color shift can hide corrosion or residue.
Keep the capture data
If you photograph the same nib before and after an adjustment, the two images have to be comparable. Institutions solve this by writing the capture information into the file itself. FADGI's guidance on TIFF image metadata sets out which technical fields belong with an image so that later users know how it was made.
You do not need TIFF or metadata standards. You need a note: date, phone or camera, lens mode, light source, distance. Keep it in the same folder. Two photographs taken at different distances are not a before and after.
The mistake that wastes everyone's time
The common failure is posting a photograph of a whole pen lying on a desk, taken from arm's length, with a caption saying it writes badly. Nothing in that image can be examined. If you take only one photograph, make it the nib from directly above with light raking across it, close enough that the slit between the tines fills a third of the frame.
Writing the post that goes with it
- Say the pen and nib width, or say you do not know.
- Name the paper and the ink.
- State the symptom in one sentence, without diagnosing it.
- List what you have already tried, in order.
- Say what you want: a diagnosis, a fix, or a second opinion.
Five lines and three photographs will get a real answer almost anywhere. General technique for photographing pens is in photographing pens, and the fault list to compare your symptom against is in pen mistakes and fixes.
Common questions
Can a phone photograph a nib well enough? Yes. Modern phone macro modes resolve tine alignment easily. The limit is light and steadiness, not the sensor.
Why does my nib photo look blurry at the tip? Depth of field. Focus on the tip itself, move the whole phone rather than zooming, and brace it on something solid.
Should I clean the nib before photographing it? Rinse and dry it, yes. Dried ink hides the exact features you are asking someone to look at.
Is video better than photographs for an intermittent fault? Sometimes. A short clip of writing that shows the skip happening is genuinely useful, as long as the light is steady.