Guides
Part of How fountain pen ink reaches the paper: a beginner's guide
Fountain pen photography: lighting and backgrounds that work
Lighting, backgrounds and color control for photographing pens and writing samples, plus the reference targets that make one shot comparable to the next.
Photographing a pen is easy. Making the ink color in the picture match the ink on the desk is hard. That is what matters when you show someone a sample and ask what they think.
The fix is not a better camera. It is consistent light, a neutral background, and something in the frame whose color you already know.
What to take away
- Shoot the writing sample, not only the pen. The line is the thing people need to see.
- One diffused light at an angle beats a ring light for showing nib grind and paper texture.
- Put a gray card or a printed color target in one frame of every session.
- Record what you did. A shot without paper, ink and light noted is a picture, not a record.
Light that shows a nib
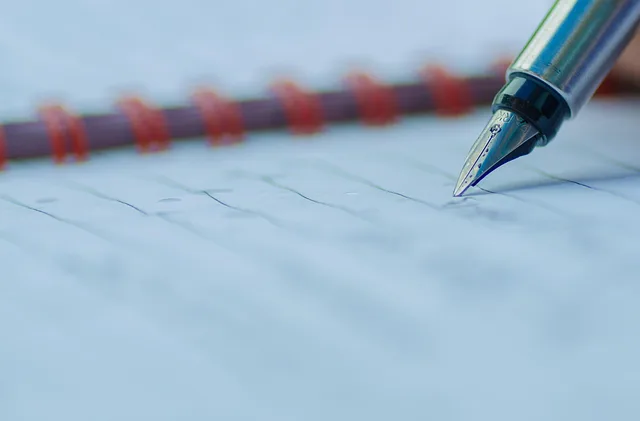
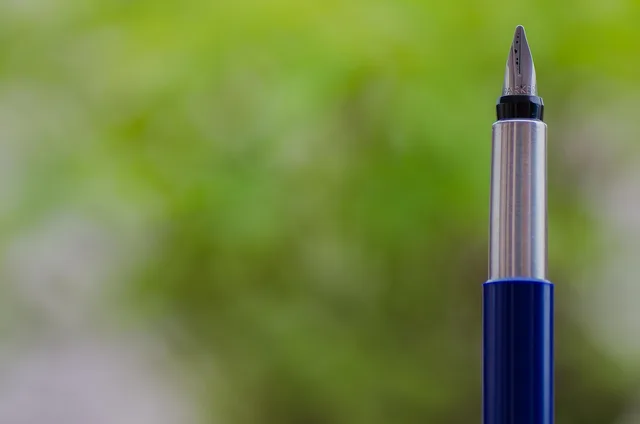
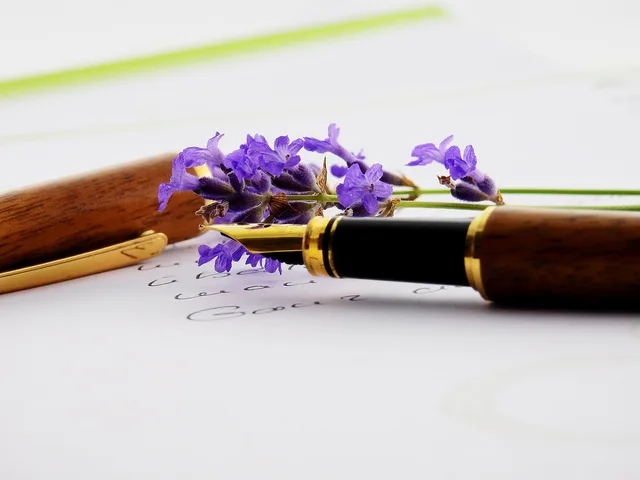
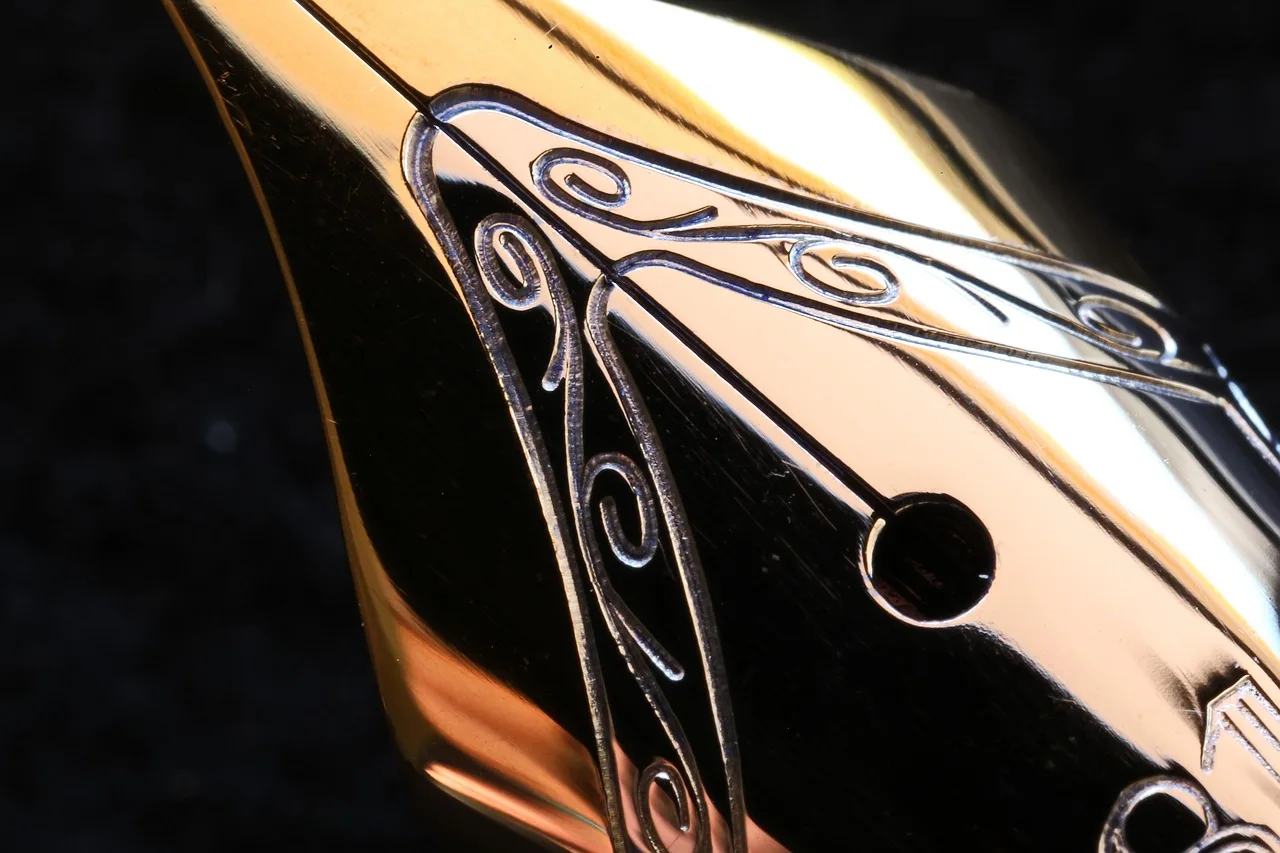
Use one source, large and diffused, placed to the side and slightly behind the pen. A window with a sheer curtain does this for free. Side light rakes across the nib and reveals the grind, the tipping and any misalignment of the tines. Flat frontal light hides all three.
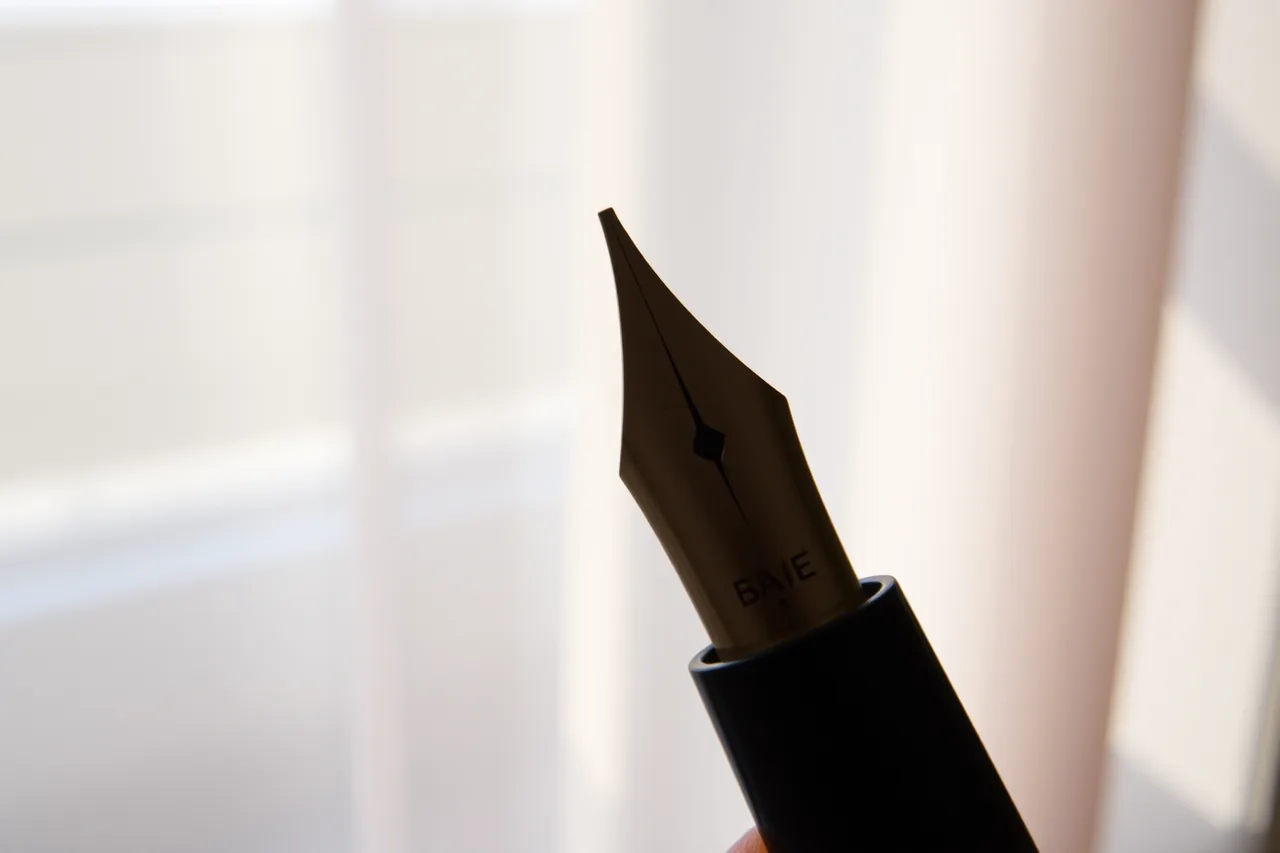
For writing samples, move the light to about forty five degrees from the page and shoot straight down. That angle shows sheen and shading without the specular hotspot you get when the light is directly behind the camera.
Color you can trust
Cultural heritage imaging solved this problem long ago. The federal technical guidelines for digitizing cultural heritage materials, developed by the Still Image Working Group, cover photographing textual material and prints. They include reference targets and performance measures a capture system must meet.
You do not need agency-grade equipment: include a known reference in the frame, and your colors become comparable across sessions.
The same discipline runs through the analytical work. The University of Iowa's study of historical papers used calibrated instruments and methods to record color and elemental composition rather than relying on the eye, and that record is what made comparisons across more than fifteen hundred specimens possible.
A setup that costs almost nothing
- A sheet of matte white or mid gray card as background, curved so there is no seam line.
- A gray card, or a printed target, shot once at the start of each session.
- A window and one piece of tracing paper taped over it as a diffuser.
- A phone on any stable support. A stack of books works.
- A note of the paper, the ink, the nib and the light for every shot.
Presenting a sample honestly
Show the whole line, including where it feathers. A crop that hides the bad half of a swatch is why online ink photos are so unreliable.
If you adjusted exposure or white balance, say so. If the ink looks different in daylight than under a lamp, take both and show both. That difference is real, and others will see it too.
Keep the same paper for every sample you intend to compare, exactly as described in the field guide. A swatch on unknown paper tells the viewer nothing about the ink. If you are documenting work made in a class, ask before publishing anything an instructor demonstrated, a courtesy worth extending to any teaching studio.